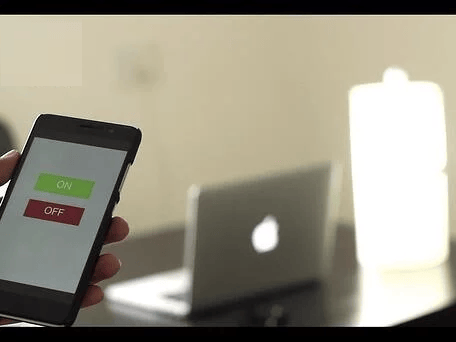
Had a busy day at work today? Exhausted, right? We know how it feels coming back home after such a long tiring day from work. Imagine being able to control the lights, fan or AC at just the tip of your fingers -- click a button and things just work. This project demonstrates how to control a light bulb via cloud-based buttons using the Bolt IoT platform and a relay module.
| Component | Quantity |
|---|---|
| Bolt WiFi Module | 1 |
| Relay Module (Generic) | 1 |
| Jumper Wires (Generic) | As needed |
| Bulb | 1 |
| Bulb Holder | 1 |
| Mobile Charger | 1 |
| 2-Pin Socket | 1 |
| Screwdriver | 1 |
| Wire Stripper | 1 |
Collect all the required items before beginning assembly.

Important: Check all the connections carefully before proceeding.
Warning: Playing with high voltages is dangerous, so be careful.
Create an account on cloud.boltiot.com and link your Bolt device following the provided instructions.
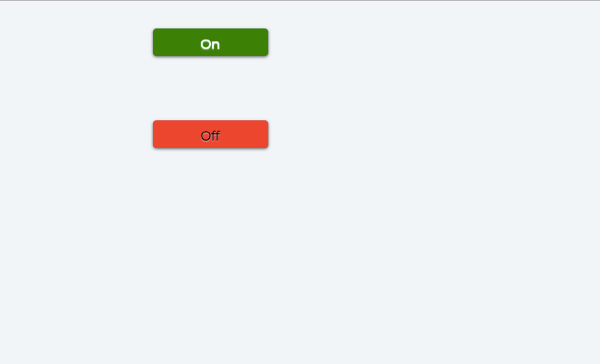
.js extension:singleButton({name:"On", action:"digitalWrite",
pin:"0", value:"HIGH",bgcolor:"green",
shape:"rectangle",align:"left","text_color":"white" })
singleButton({name:"Off", action:"digitalWrite",
pin:"0", value:"LOW", bgcolor:"red",
shape:"rectangle", align:"left", text_color:"black"})Note: Make sure the correct digital pin is used in the code. Save the configuration before proceeding.

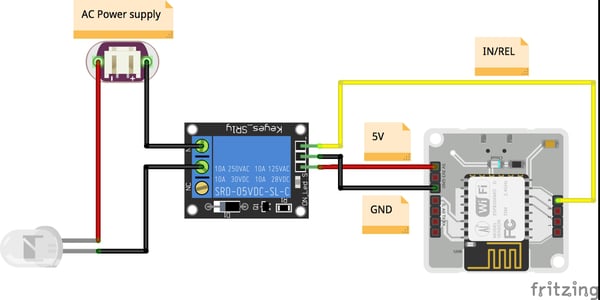
The system uses a simple API (Application Program Interface) call that turns the state of the digital pin to HIGH or LOW. The relay switches based on the pin state. When the relay is in the OFF state, it breaks the circuit between the bulb and the power supply, causing the bulb to turn off. When the relay is in the ON state, it completes the circuit connection, turning the bulb on. This project can be extended to control multiple appliances by adding more relay channels and buttons.
Get the latest IoT tutorials, projects, and updates delivered to your inbox.