Bidirectional Visitor Counter System
This System measures the flow of people entering or leaving a room. Also gives information on how many people are inside the room.
My shopkeeper uncle wanna know how many customers visit his shop in a day. So let's make an IoT-based Customer Counter for him which will notify him of how many customers visit his shop in a day through SMS.
Things used in this project:
Hardware Components:
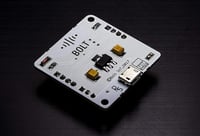 Bolt Wifi Module Bolt Wifi Module |
X 1 |
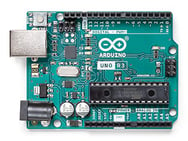 Arduino Uno Arduino Uno |
X 1 |
|
X2 |
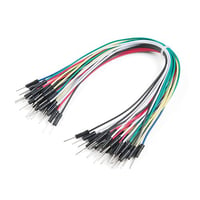 Jumper Wires Jumper Wires |
As Required |
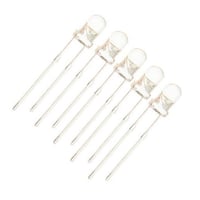 LEDs LEDs |
2 |
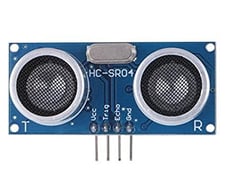 HC-SR04 Ultrasonic Sensor
Software and online services:
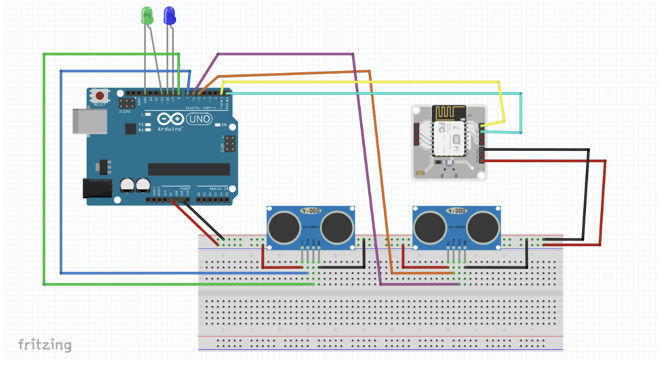
Hardware Setup:
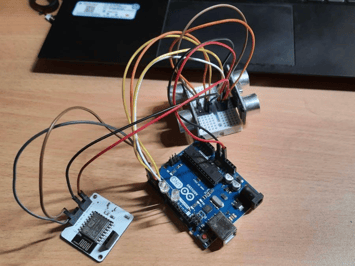
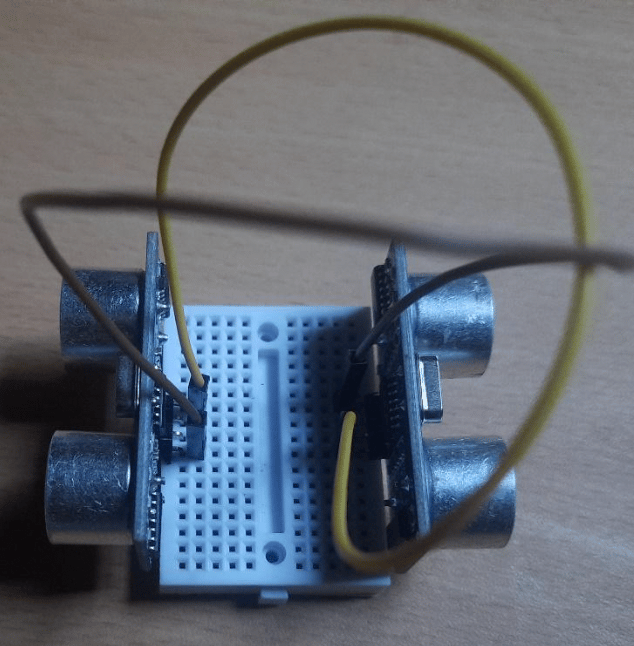
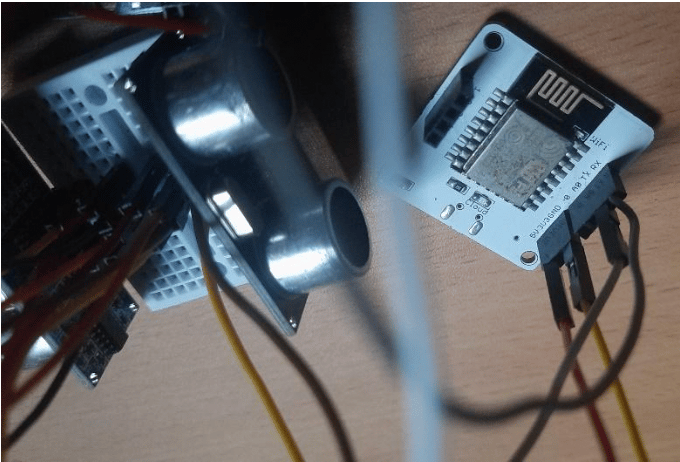
In the below image I am specifying the left sensor as sensor 1 and the right sensor as sensor 2.
Step 1: Connect Vcc and GND of sensor 1 to Vcc and GND of sensor 2 respectively.
Step 2: Connect Vcc and GND of sensor 1 to 5v and GND of Arduino respectively.

Step 3: Connect Trig and Echo Pin of sensor 1 to Pin 7 and Pin 8 of the Arduino respectively.
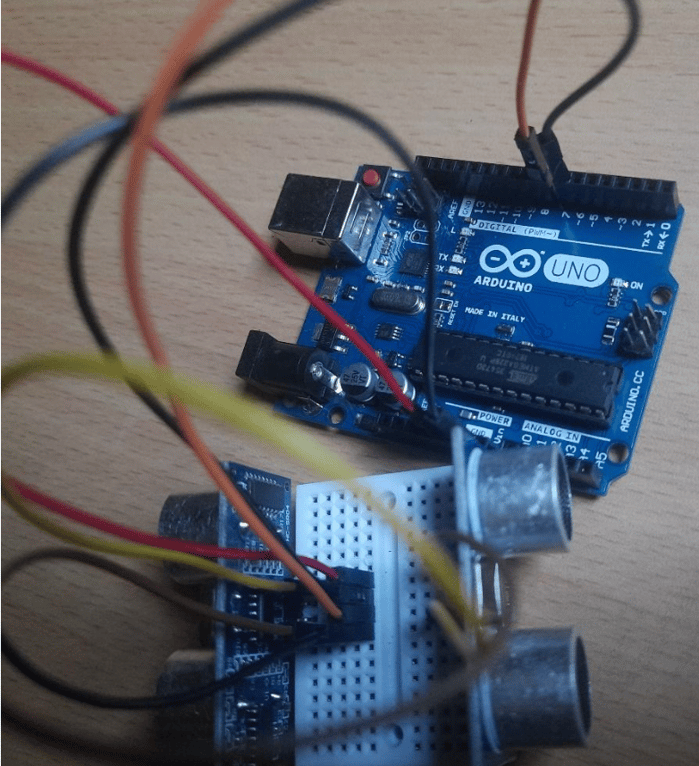
Step 4: Connect Trig and Echo Pin of sensor 2 to Pin 5 and Pin 6 of the Arduino respectively.
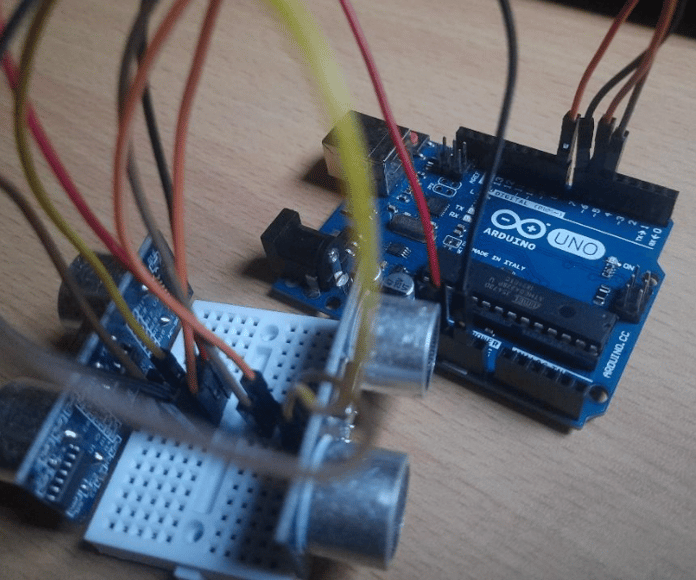
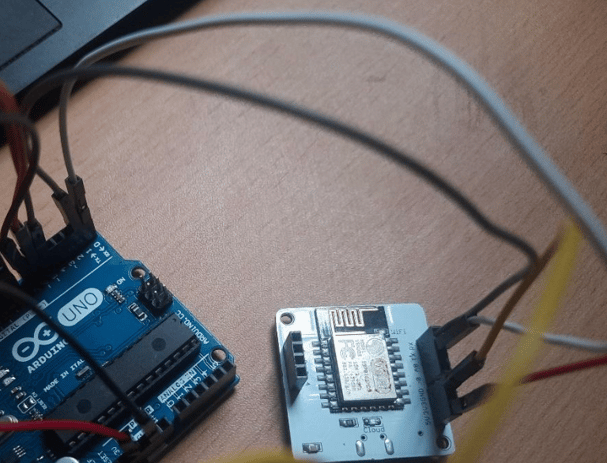
Step 5: Connect RX and TX of Bolt Wifi Module to TX and RX of the Arduino respectively.
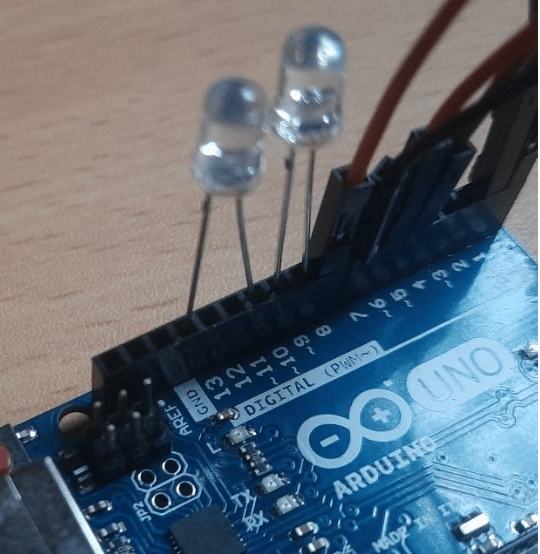
Step 6: Connect the positive and negative terminal of one LED to Pin 11 and the GND of the Arduino respectively.
Step 7: Connect the positive and negative terminal of the other LED to Pin 9 and Pin 10 of the Arduino respectively.
Step 8: Connect 5v and GND of the Bolt Wifi Module to Vcc and GND of the sensor 2 respectively.
Schematics
Circuit Diagram of The System
Software Programming:
Step 1: Connect the Bolt device to Bolt Cloud.
Step 2: Create an account in Twilio and log in to your account.
To know how to set up Whatsapp sandbox click on this link (https://console.twilio.com/us1/develop/sms/try-it-out/whatsapp-learn?frameUrl=%2Fconsole%2Fsms%2Fwhatsapp%2Flearn%3Fx-target-region%3Dus1) .
Step 3: Get the Codes.
Go to the link (https://github.com/nipunjyoti/Counter-System) . Download CounterSystem.py and CounterSystem.ino. Upload CounterSystem.ino code to Arduino.
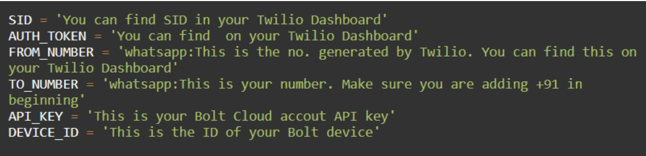
Step 4: Changes in Code.
In the python_code.py file change SID, AUTH_TOKEN, FROM_NUMBER, TO_NUMBER, API_KEY and DEVICE_ID. Make sure your Computer has Python installed on it and don’t forget to add Bolt Library to it. Use the command “pip install boltiot”.
Step 5: Run the python code.
Now you are all set up and ready to get Whatsapp message.
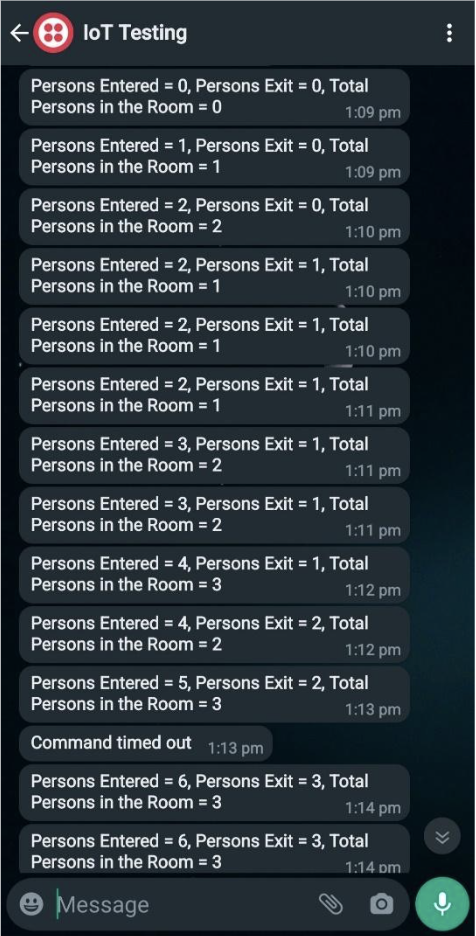
OUTPUT:
 Conclusion:
It makes my uncle's work very easy. He doesn't even need to count the number of customers manually. Everything is automatic. He will get a Whatsapp message regarding the Visitor count in his shop.
This system can also be used in Exam Centres to determine the number of students attended the exam.
Want to build more such IoT and ML projects? Want to learn IoT and ML from basics?
Check out the Bolt IoT and ML training. This online video training is excellent for those who want to start with IoT and ML because it teaches you to build projects from the basics. Click on the button below to know more about the training.