

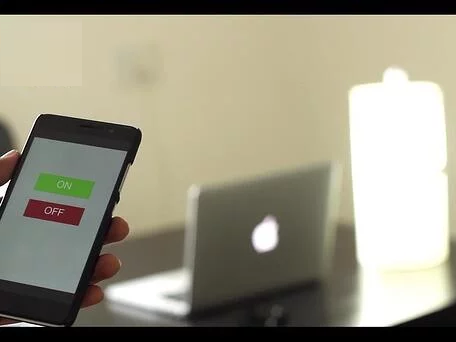
Had a busy day at work today? Exhausted right? We know how it feels coming back home after such a long tiring day from work. All you want and hope for is everything to be done on its own. You want to control the lights, fan or AC at just the tip of our fingers, click a button and food is right in front of you, served hot and delicious, tap your feet and the music is on letting you enjoy the night. Isn't that really cool. But alas, even if most of us work with technology, we forget to implement it even with the smallest of things which could make our life easier. But as it is rightly said when there is a will there is a way, here's a simple way out for you to control the lights of your home at just a click.
Things used in this project
Hardware components

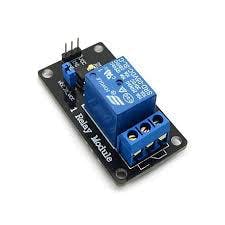
- Relay Module (Generic)
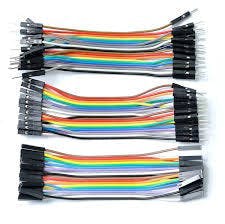
- Jumper wires (generic)
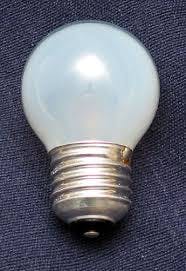
- Bulb
- Bulb holder
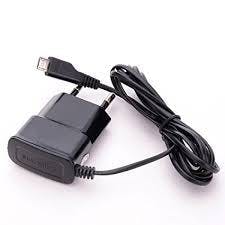
- Mobile charger
Software apps and online services

Hand tools and fabrication machines
- Screwdriver
- Wire stripper
Hardware Setup
Step 1: Gathering all the required components
Let us go now and gather all the required hardware from the shop required for the project.

1. Bolt Wifi Module

2. Single Channel Relay Module
3. Jumper Wires and normal wires
4. Bulb holder
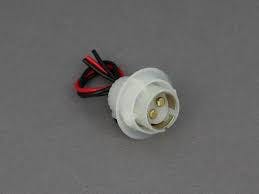
5. Bulb
6. Mobile Charger
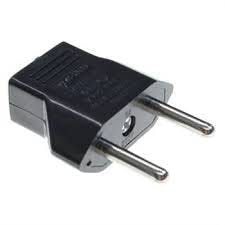
7. 2-Pin Socket
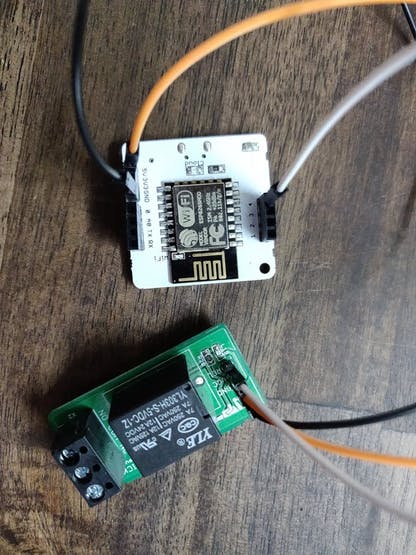
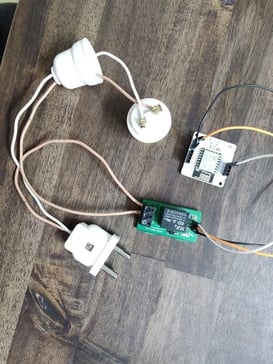
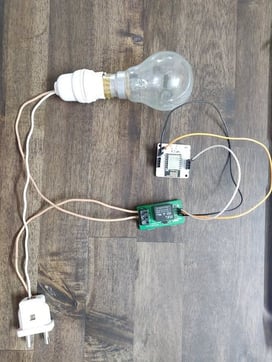
Step 2: Assembling the hardware

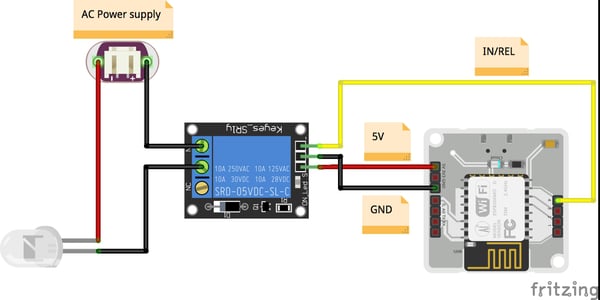
1. Connect the 5V supply pin and GND of the Bolt to the 5V and GND pins of the relay module.
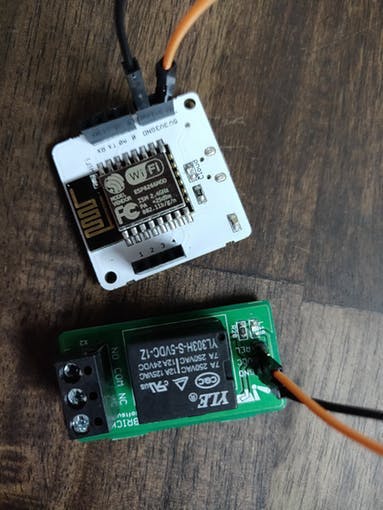
2. Connect any one of the digital pin i.e (0-4) of the Bolt to the IN/REL pin of the relay module.
3. Connect a wire from the bulb holder to the COM pin of the relay module.
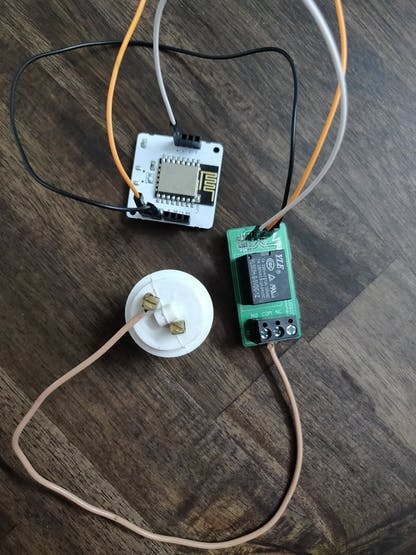
4. Connect a wire from the NO pin of the relay module to the 2-pin socket.
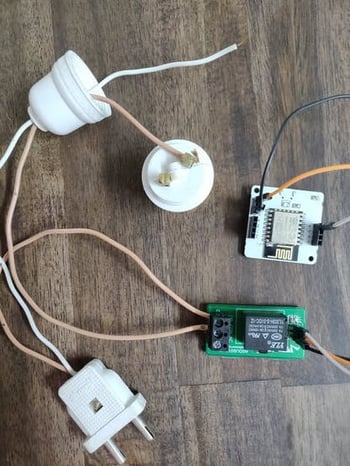
5. Connect the remaining terminal of the bulb holder tot the other terminal of the 2-pin socket.
NOTE: Check all the connections carefully before proceeding.

CAUTION: Playing with high voltages is dangerous, so be careful.
Here is a schematic to make things easier.
Step 3: Connecting Bolt to cloud
If you already have an account on the cloud.boltiot.com then skip this step.
To create your new account and link your Bolt device to cloud click here.
Software Setup
Step 1: Uploading the Code
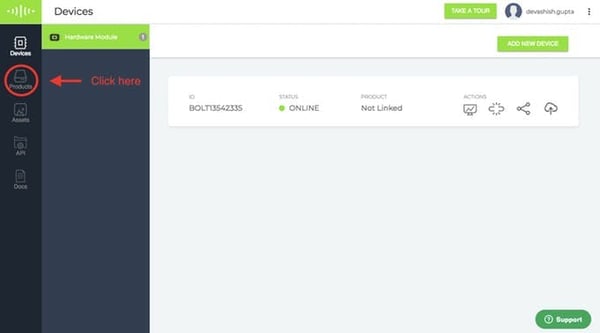
1. Visit cloud.botiot.com and login with your account credentials.
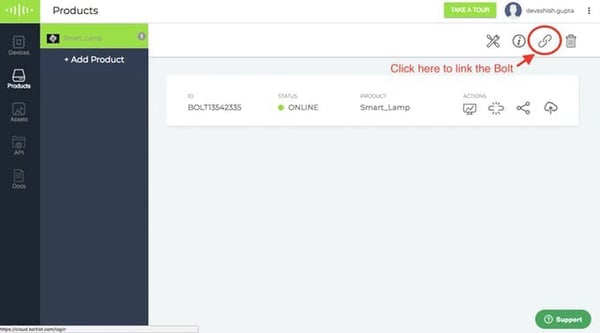
2. Click on 'Product' tab and create a product as shown.
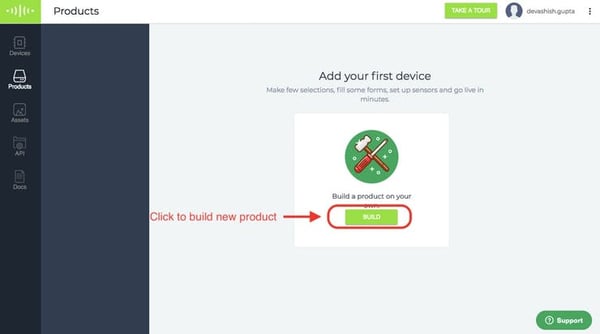
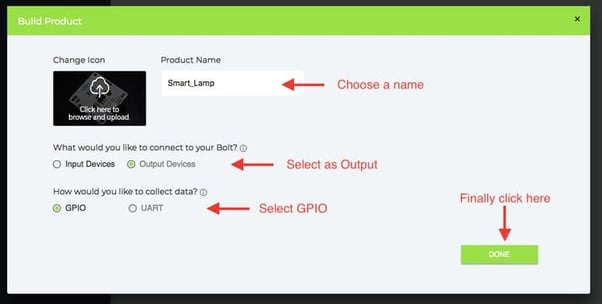
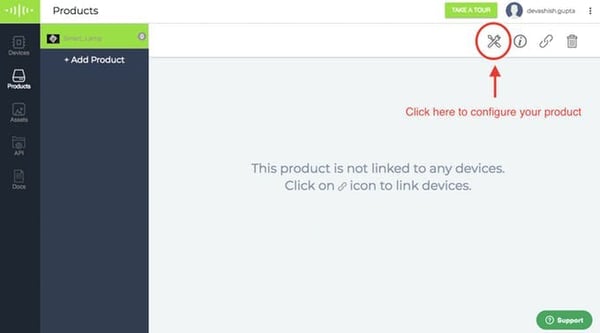
3. Configure the product.

4. Upload the code and save the configuration.
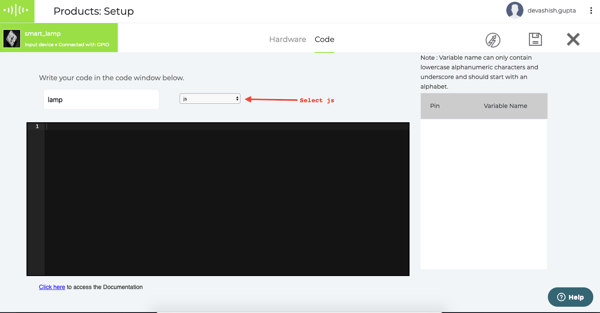
Chose the js extension from dropdown, give a name to your code and then start writing your JS code for controlling the device. You can read more details here https://docs.boltiot.com/docs/controlling-devices
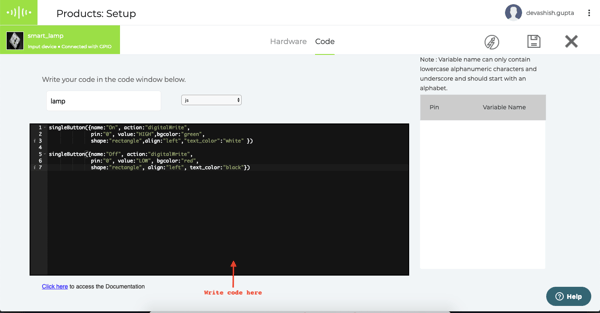
Here is the code that you could copy:
singleButton({name:"On", action:"digitalWrite",
pin:"0", value:"HIGH",bgcolor:"green",
shape:"rectangle",align:"left","text_color":"white" })

singleButton({name:"Off", action:"digitalWrite",
pin:"0", value:"LOW", bgcolor:"red",
shape:"rectangle", align:"left", text_color:"black"})
NOTE: Make sure correct digital pin is used in the code.
NOTE: Save the configuration before proceeding.
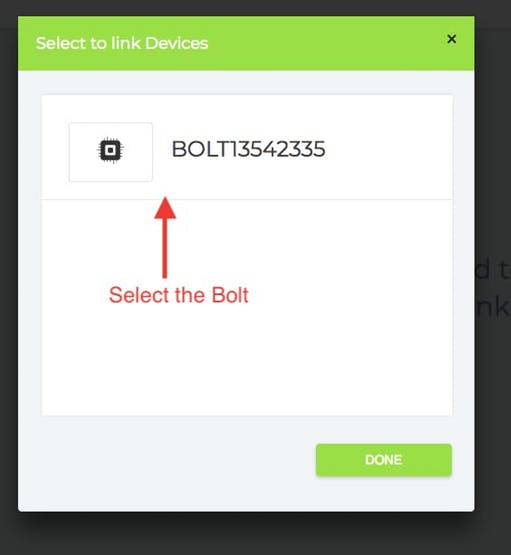
5. Link the Bolt to the product.
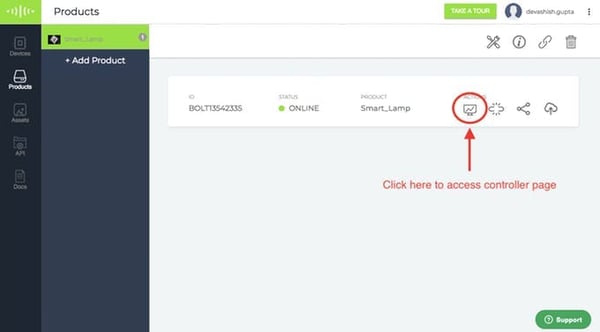
6. Click on 'View this device'
7. Click on On button to switch on the lamp and click on Off button to switch ff the lamp.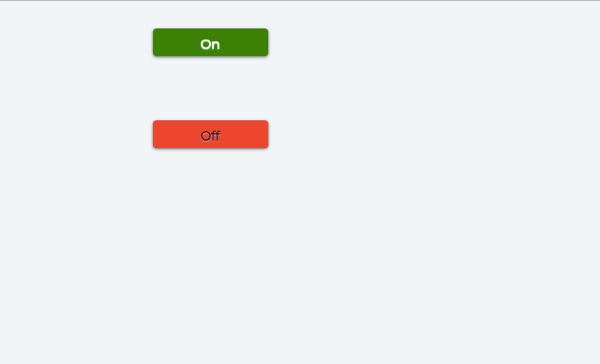
Step 2: Testing

For testing the system follow the steps below:
1. Power up the Bolt device and ensure that it is connected to the cloud.
2. Connect the bulb holder to the AC power supply (i.e wall socket) using the 2- pin socket.
3. Login into your account on cloud.boltiot.com and go to your product and click ' View the action' button.
4. Now control the Bulb using the ON/OFF button over the internet to make home smart.
Conclusion
The working of the system is very simple and easy. Let's get it understood!
The system uses a simple use of API (Application Program Interface) call that turns the state of the digital pin to HIGH or LOW. The state of this pin is further used to switch the relay ON or OFF. And this API call is activated when you press the button on the browser.
When the relay is in OFF state it breaks the circuit between the Bulb and the power supply result of which the bulb goes off whereas when the relay is in ON state it completes the circuit connection between bulb and power supply as a result of which bulb lights up.
Video
Want to build more such IoT and ML projects? Want to learn IoT and ML from basics?
Check out the Bolt IoT and ML training. This online video training is excellent for those who want to start with IoT and ML because it teaches you to build projects from the basics. Click on the button below to know more about the training.